From 2d to 3d - Brand Nurbs |
||||
 |
||||
software: MAYA Tecnica: From the 2d to 3d - NURBS MODELING tutor3d@digitaldesignstudio.it Computer Grafica by DigitalDesignStudio.it |
||||
From 2d to 3d - Brand Nurbs |
||||
|
||||
software: MAYA Tecnica: From the 2d to 3d - NURBS MODELING tutor3d@digitaldesignstudio.it Computer Grafica by DigitalDesignStudio.it |
||||
 |
 |
|
1.
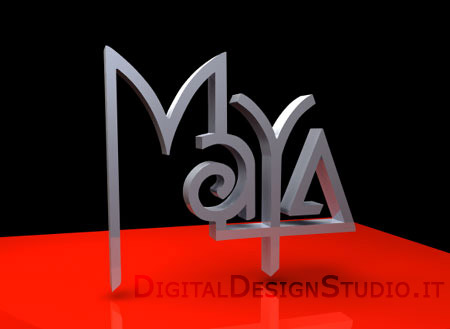
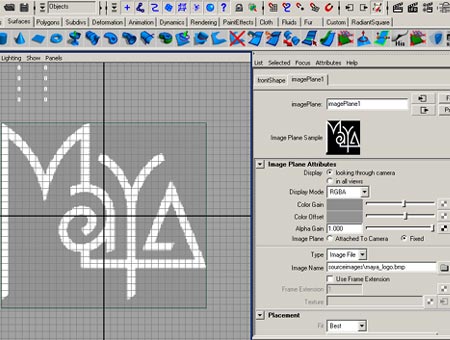
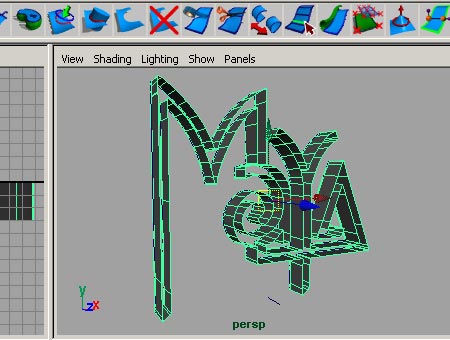
In this tutorial we will see as it is possible to create shapes 3d, starting from an image. In this case we will try to model the mythical brand of Maya using NURBS curves CV to trace the profile. |
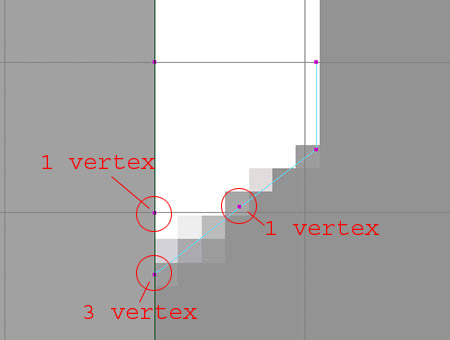
2. From the Front View we always trace the image serving us of CV curves (Crete > CV curves tool). Is an enough simple process, the only particular attention goes lend in the realization of the angles. Practicaly, in order to obtain an angle from the chine clearly, it is necessary to insert some vertex coinciding in the point in which the curve it must change direction; in the example of the image, the angle has been realized inserting 3 vertex in the same position. |
|
 |
 |
|
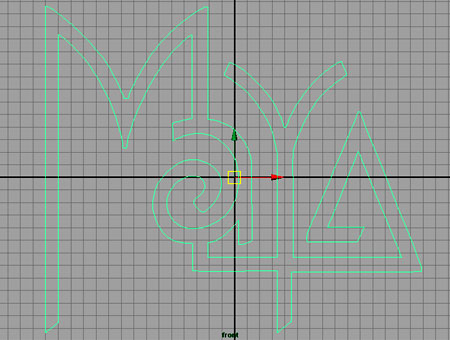
3. In order to finish the curve, insert 3 final points in the same position, coinciding with the first point of the same curve (as we have made with the angle, previously) and press Enter. |
4. Ok, let's go from 2d to 3d. |
|
 |
 |
|
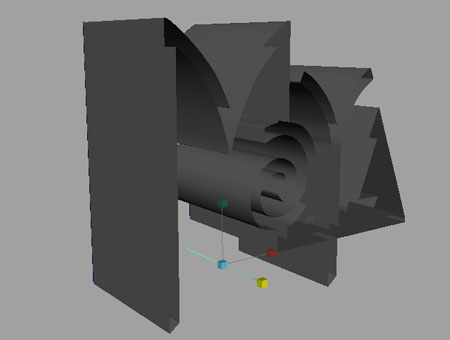
5. We select the nurbs surface, the segment as soon as created and go to Surface > Extrude. We would have to be found again with something of similar to the example figure.
|
6. Thanks to the Contruction History, than ' link' the two curves, we can modify the thickness of our object, only changing the length of the segment (selected in the image). |
|
 |
 |
|
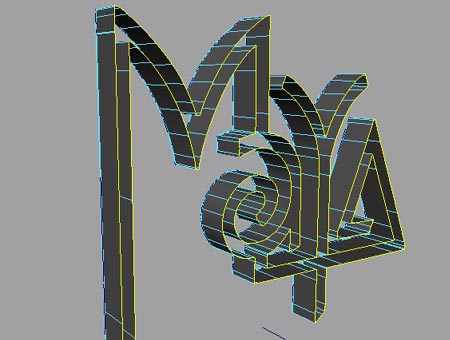
7. In order to create the frontal part of the logo, with our mouse over the shape, RightMouseButton and choose Isoparm. Click once on most external isoparm of the object, so as to select it, like in figure. We choose Surface > Planar, in order to create the front face. If we will not never frame the posterior part of the logo, we can avoid to create it in order not to weight down the scene uselessly. |
8.
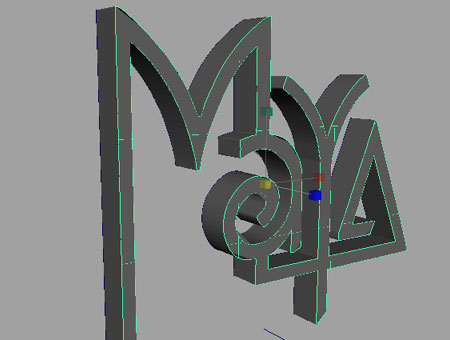
In order to finish, we select all the model, we go on Edit Nurbs > Rebuil Surface >, from the window of the options we dull the CVs case and we press Rebuild. With the model still selected we go on Edit > Delete by Type > History; with the still active selection, we press CTRL+G on the keyboard so as to to group the object. It does not remain that to assign a material to our model, to set up some light and render the scene, even taking advantage with the power of the Mental Ray motor, object of a next one tutorial. |
|
| Suggerimenti e commenti sono benvenuti. |
|
|
| |
||